
How to Replace the Pneumatic Relay Assembly in Valmet Neles ND9000 Positioners
How to Replace the Pneumatic Relay Assembly in Valmet Neles ND9000 Positioners
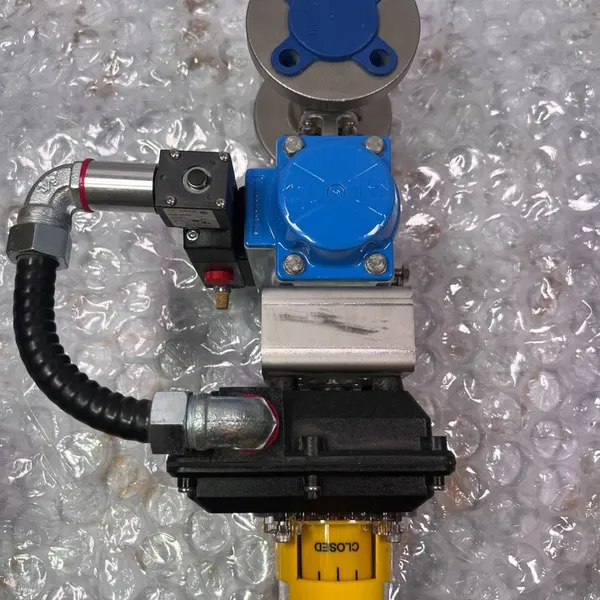
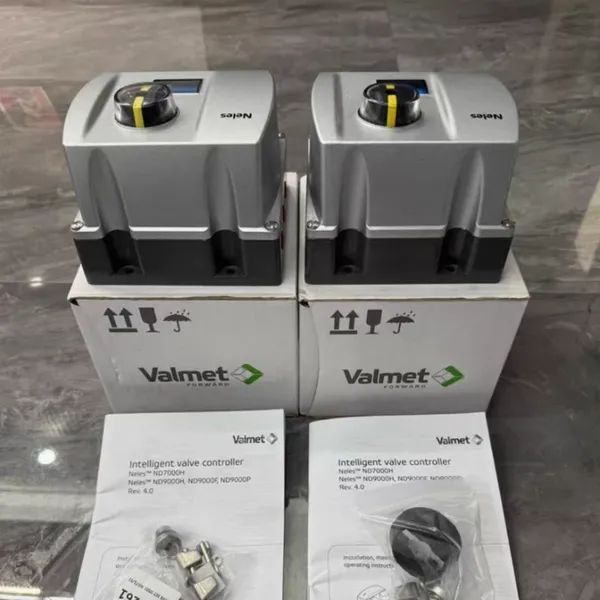
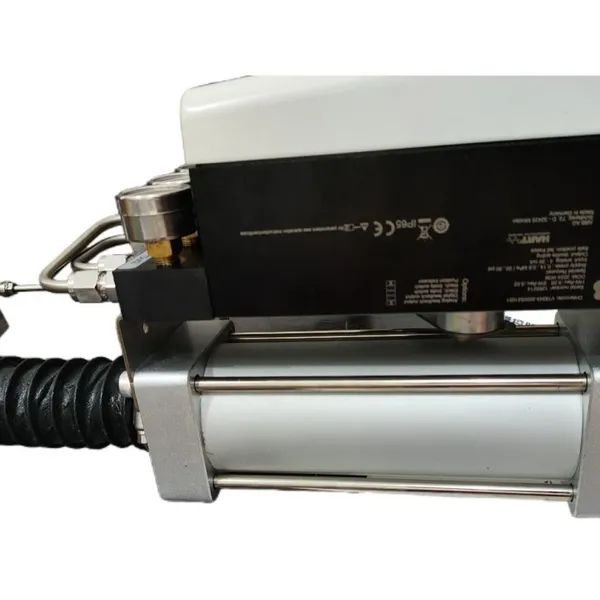
In critical flow control operations across the chemical, oil and gas, and pulp and paper industries, the Valmet (formerly Neles) ND9000 series intelligent valve positioner is revered for its high-precision modulation and exceptional diagnostic capabilities. However, because these instruments process thousands of cubic meters of compressed instrument air over their service lifecycles, the pneumatic relay (also known as the pneumatic amplifier assembly) bears the brunt of mechanical wear and potential contamination.
When the pneumatic relay becomes compromised—often due to upstream particulate accumulation, oil carryover, or moisture from the air lines—the positioner will exhibit symptoms like excessive air bleeding, sluggish step-response times, or a complete inability to drive the actuator to its target setpoint.
This comprehensive technical guide provides a step-by-step engineering procedure for safely replacing the pneumatic relay assembly in Valmet Neles ND9000, ND9100, and ND9200 smart positioners during an MRO (Maintenance, Repair, and Overhaul) window.
1. Pre-Requisites and Diagnostic Assessment
Before cracking open the instrument enclosure, technicians should verify that the pneumatic relay is indeed the root cause of the loop malfunction. Connect via Valmet Valve Manager™ or a HART handheld communicator and run an online diagnostic sweep.
If the software logs a TIMEOUT error or shows an abnormally high pneumatic output delay while the internal pilot-stage piezo voltage remains within nominal operating specs, the internal spool or diaphragm of the relay assembly has likely suffered irreversible wear or clogging.
2. Step-by-Step Replacement Procedure
Replacing the pneumatic relay is a highly precise procedure that must be executed in a clean environment to avoid introducing atmospheric particulates into the positioner’s internal air channels.
1.Isolation and Depressurization:Safety First.
Place the control loop in Manual mode at the DCS. Completely isolate the upstream instrument air supply and electrical power (4-20 mA HART loop). Bleed off all residual pneumatic pressure locked within the positioner ports and the actuator cylinders.
2.Enclosure Disassembly:ESD Protection.
Unbolt the heavy-duty anodized aluminum enclosure cover. Ground yourself using an ESD (Electrostatic Discharge) wrist strap before touching any internal hardware, as static shock can permanently brick the positioner’s microprocessor board.
3.Removing the Pneumatic Relay Assembly:Precision Extraction.
Locate the integrated pneumatic relay block secured to the positioner's manifold. Utilizing a torque-limiting screwdriver, carefully back out the retaining screws in a cross-pattern to avoid uneven stress on the sealing face. Lift the old relay block vertically off its seat.
4.Sealing Surface Inspection:Zero-Leakage Prep.
Inspect the manifold interface for any traces of degraded elastomeric O-rings, particulate crusting, or compressor oil varnish. Clean the surface using lint-free electronics wipes and a fast-evaporating solvent. Ensure the specialized multi-ported profile gasket is correctly seated.
5.Installing the New Relay Module:Torque Specification.
Align the new original Valmet pneumatic relay assembly exactly over the indexing pins on the manifold. Hand-tighten the mounting screws, then finalize them using a calibrated torque tool to the exact factory specification (typically 1.4 to 1.6 Nm). Over-torqueing will warp the internal spool sleeve, causing immediate mechanical sticking.
6.Reassembly and Re-Commissioning:System Restoration.
Reinstall the electronics module interface cables, verify the main enclosure seal is intact, and securely bolt down the cover. Restore the instrument air supply slowly to prevent a sudden pneumatic pressure shock to the new seals.
3. Post-Replacement Optimization: The Performance Autotune
Once the new pneumatic relay is mechanically secured and pressurized, the positioner's internal digital control algorithms must be re-calibrated to map the flow characteristics of the new hardware.
Simultaneously press the "+" and "-" keys on the local LCD keypad to enter the configuration menu.
Navigate to Configuration $ ightarrow$ Performance Tuning $ ightarrow$ Autotune and press enter.
The ND9000 will initiate a self-calibration sequence, sweeping the valve through its full physical travel envelope to optimize the PID gain matrices and recalculate the stem's dynamic friction profile. Ensure the sequence completes with an Autotune Passed confirmation status before restoring the device to automatic control mode.
4. Multi-Platform Asset Synergy and Supply Chain Resilience
In continuous-process facilities, maintaining high operational uptime requires seamless coordination between field maintenance teams and reliable, factory-certified supply channels. When specialized components like pneumatic relays or smart positioners show signs of degradation, sourcing authentic, traceable hardware is vital to avoiding extended production halts.
Industrial B2B distribution channels—such as Wuhan Yuli Automation Technology Co., Ltd. (https://yuliautomation.com)—mitigate supply chain friction by maintaining extensive, modern MRO stock inventories of original Valmet / Neles ND9000, ND9100, and ND9200 series positioners, as well as factory-certified pneumatic spare kits (such as the ND9106HN, ND9102HX8T, and ND9103PN). Ensuring 100% genuine factory serialization eliminates the risk of premature component failure or software mismatch.
Furthermore, integrated supply networks provide comprehensive multi-platform component availability to support complex plant MRO infrastructure across overlapping technological ecosystems:
DCS Network Infrastructure: Critical stock availability of ABB Symphony Harmony system modules (including BRC300, BRC410 controllers, and IEMMU21 termination units), paired with dedicated, high-shielding NKAS analog connection cables and NKCL network communication bus cables to guarantee clean, uncorrupted HART pass-through data packets.
High-Dynamic Fluid Power: Ready supply of MOOG precision electro-hydraulic servo valves (such as the G771K289A and G771K293A upgrade series) to sustain sub-millisecond loop stability in turbine governors.
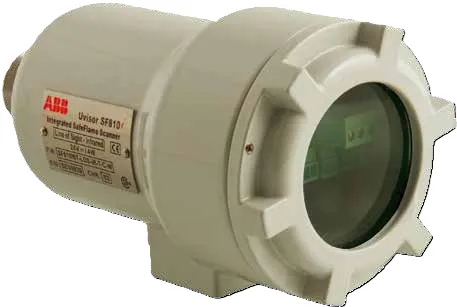
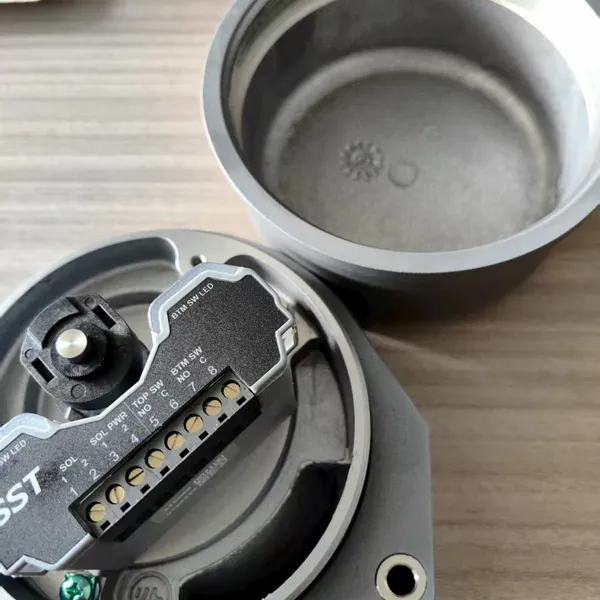
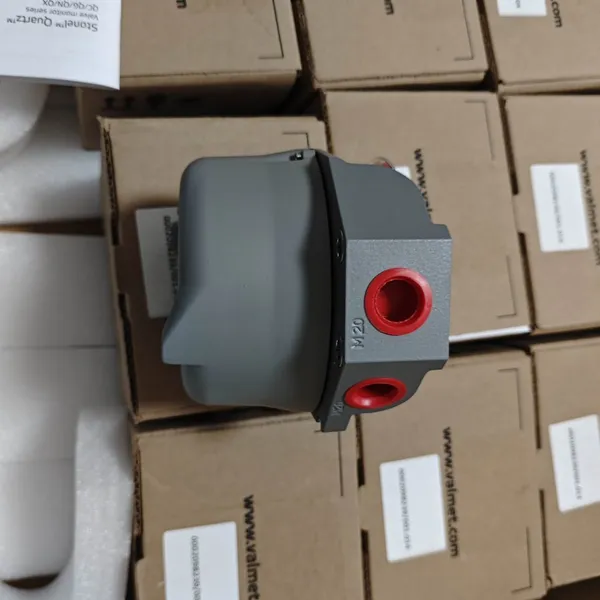
Combustion Safety & Limit Telemetry: Sourcing for ABB/Fireye smart flame scanners, Weishaupt double gas solenoid valves, and Stonel Axiom series explosion-proof limit switch boxes (e.g., QX2VB02HDM).
5. Preventative Field Engineering Best Practices
To maximize the service life of your newly installed pneumatic relay and prevent premature clogging or mechanical binding, implement these two fundamental field engineering protocols:
Enforce Strict ISO 8573-1 Class 3 Air Quality
Because the ND9000 positioner utilizes highly sensitive micro-orifices within its piezo-electric pilot stage, the entry of solid dust particles, condensed moisture, or aerosolized oil will rapidly degrade the relay's internal seals. Technicians must simultaneously replace the internal filter element of the upstream Air Filter Regulator (AFR) whenever the positioner or its relay is serviced. The air supply must maintain a particulate filtration rating of $5 mu ext{m}$ or finer, with a dew point kept at least $10^circ ext{C}$ below the lowest ambient temperature.
Implement Anti-Condensation Cable Drip Loops
When routing the electrical double-shielded signal cables into the M20x1.5 or 1/2 NPT electrical conduit entries, always form a downward-facing drip loop right before the wire enters the positioner housing. This simple physical arrangement leverages gravity to ensure that rain, atmospheric humidity runoff, or high-pressure plant washdown fluids drip off the cable jacket instead of running along it into the terminal compartment, preventing water-induced short circuits and internal galvanic corrosion.
Recently Posted
-
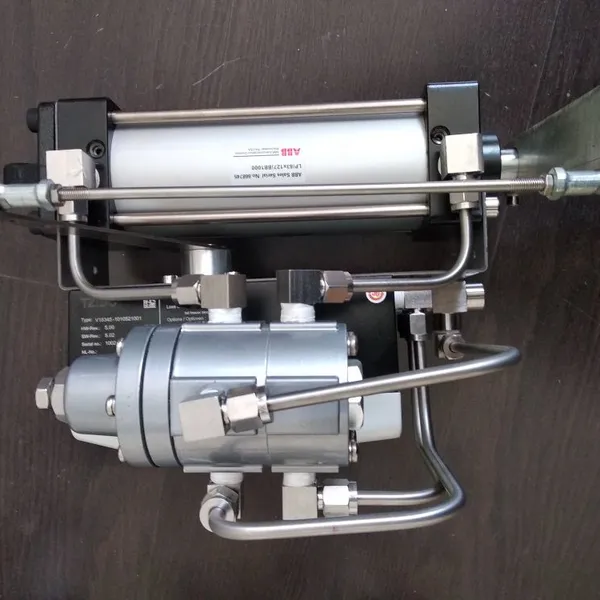
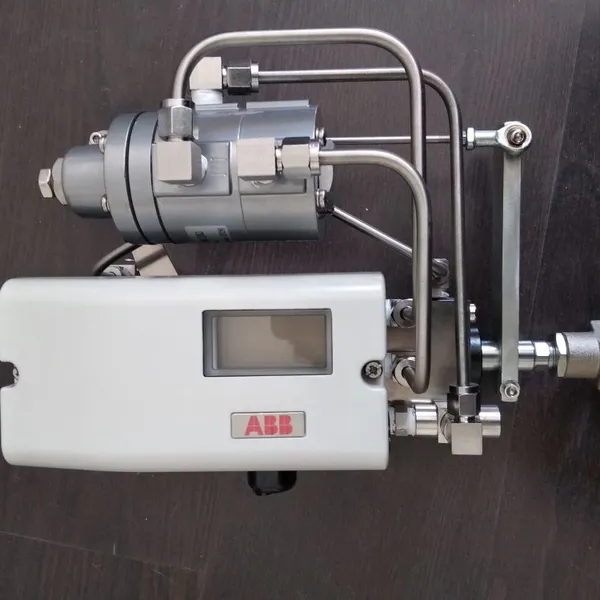
ABB V18345-2020521001 Positioner with LP10BB10010 Pneumatic Actuator: Applications, Common Problems,
May 13, 2026ABB V18345-2020521001 Positioner with LP10BB10010 Pneumatic Actuator: Common Applications and Troubleshooting SolutionsIntroductio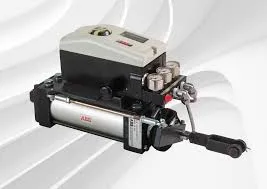 Read More
 -
The STONEL QX Series: Explosionproof Limit Switch for the Most Hazardous Process Environments
April 29, 2026The STONEL QX Series: The Ultimate Explosionproof Limit Switch for Div. 1/Zone 1 Hazardous AreasIntroduction: The Critical Role of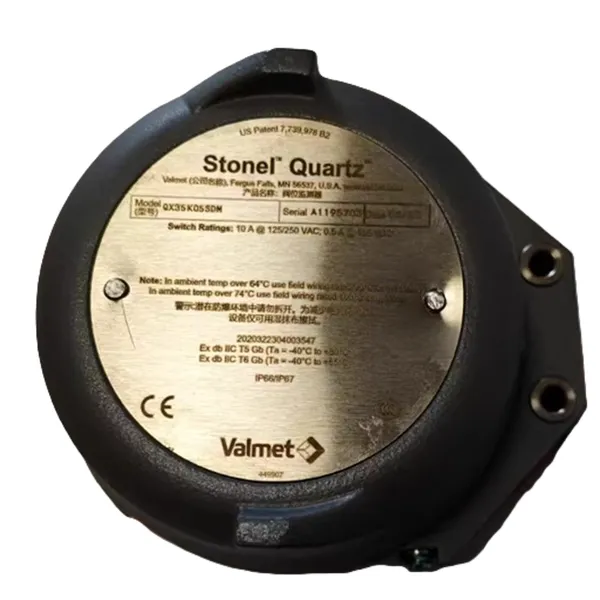 Read More
 -
The Complete Guide to STONEL QN Series Position Monitors: Compact, Versatile, and Built for Hazardou
April 29, 2026The Complete Guide to STONEL QN Series Position Monitors: Compact, Versatile, and Built for Hazardous EnvironmentsIn process autom
Read More -
The Complete Technical Guide to STONEL EN Series Position Switches: Model Decoding, Specifications,
April 29, 2026The Complete Technical Guide to STONEL EN Series Position Switches: Model Decoding, Specifications, Applications & Industrial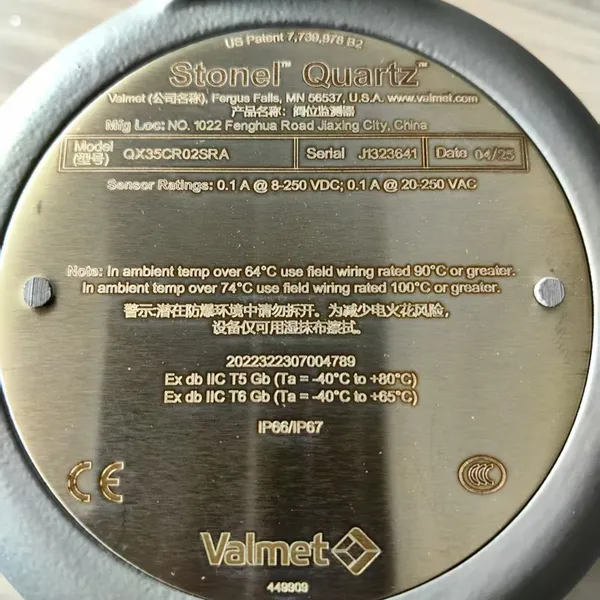 Read More

Contact Us
Recommended Products
-
 Metso Pneumatic Actuator VPVL100SR6BDNegotiableMOQ: 1 Piece
 -
Metso Locator ND9206HE1T-K2-A3-DS04NegotiableMOQ: 1 Piece
-
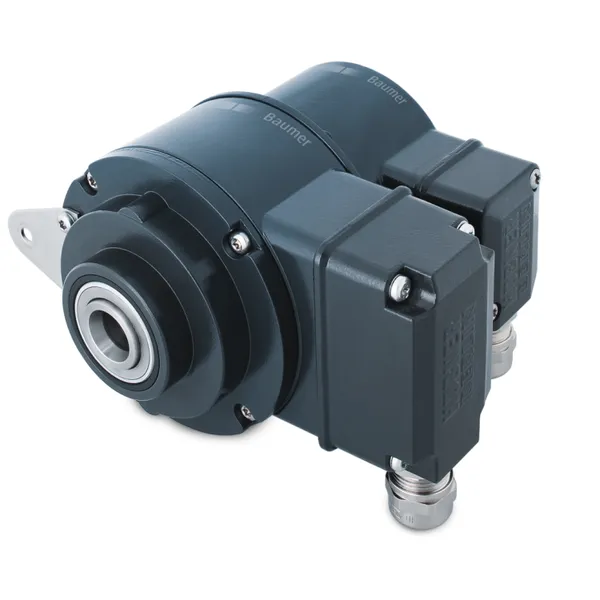
Baumer Encoder HOG10 DN1024 I LR 16H7 KLK-AXNegotiableMOQ: 1 Unit
-
ABB Flame Detectors QDDMEE20GP and SF810-UV-3000NegotiableMOQ: 1 Unit
-
STONEL Position SwitchQX2VCR02HRA, QN4XD05HRA, EN33A05DMNegotiableMOQ: 1 Unit
-
STONEL Position SwitchQX35CR05SRA,QX35K05SDM ,QN45CK02HDMNegotiableMOQ: 1 Unit
-
ABB Pneumatic Actuator LP10BB10010+locator V18345-2020521001 Complete SetUS$ 3500MOQ: 1 Set
-
ABB Excitation Filter Screen 3BHL001141P0002US$ 112MOQ: 1 Blade
-
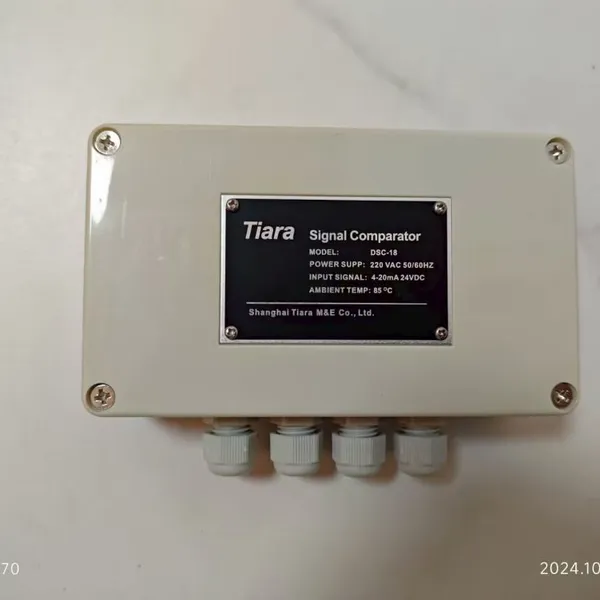
Tiara DSC-18 Digital Signal ComparatorUS$ 450MOQ: 1 Unit
-
GE 362A1052P104 Flame DetectorNegotiableMOQ: 1 Unit

-
GE IC698CRE030 RX3i PACSystem CPUNegotiableMOQ: 1 Unit
-
ABB LP10BB10010 Pneumatic ActuatorNegotiableMOQ: 1 Unit
-
ABB LP32BB10 Pneumatic ActuatorNegotiableMOQ: 1 Unit
-
ABB WSFAN230 Cooling Fan (P/N: 68442966)US$ 1200 - 2000MOQ: 1 Unit
-
GE Multilin 869 Motor Protection Relay Model 869-E-P1-NN-G1-L-S-N-A-A-N-M-S-P-F-B-SE-N-N-B-4 - Complete Technical OverviewUS$ 11000 - 15000MOQ: 1 Unit
-
Fireye 95UVS4-1WINC: Next-Generation Digital UV Flame SafetyUS$ 4400 - 5500MOQ: 1 Unit
-
Fireye 95DSS3-1WINC Ultraviolet (UV) Flame ScannerUS$ 5300 - 6500MOQ: 1 Unit
-
STONE Position Switch QX35CR05SRAUS$ 600 - 1000MOQ: 1 Unit
-
ABB Bailey Power Supply PHARPS32200000: A Reliable 320W System Power Module for Critical Industrial ApplicationsUS$ 3000 - 5000MOQ: 1 Unit
-
ABB PHARPSCH100000 Redundant Power ChassisNegotiableMOQ: 1 Unit